Publishing static websites with Sculpin, git and Netlify post
Today I will show you how I created this blog using the static website generator Sculpin, how I hosted it at Netlify for free and automated the build and deploy process using git.
Bootstrapping the Sculpin project
This is trivial and there are a lot of articles on the internet describing it, so I only will give short instructions. At the end of this section, you should have a functional static website running in your local machine and the source files pushed to your git repository.
- Start a Sculpin project in your local machine. I have used the sculpin/blog-skeleton. You must have the dependencies installed in your system (PHP, Composer and yarn).
In order to fulfill the requirements I used docker, but it's out of the scope of this article.
- IMPORTANT: In order to successfully build a production version I had to comment the line
.enableVersioning(Encore.isProduction())fromwebpack.config.js. It disables the generation of versioned assets due to the inability of sculpin to proper load them. - Test the production build locally running
yarn encore prod && sculpin generate --env=prodand opening in your browseroutput_prod/index.html. - Create a GitHub repository and push your project. It can either be private or public. If you want you can choose another git provider like GitLab or BitBucket.
Publishing your website on Netlify
Here's where the magic happens. Whenever you push a commit to your GitHub repository the Netlify would be aware and will build and publish the website automatically. 🚀
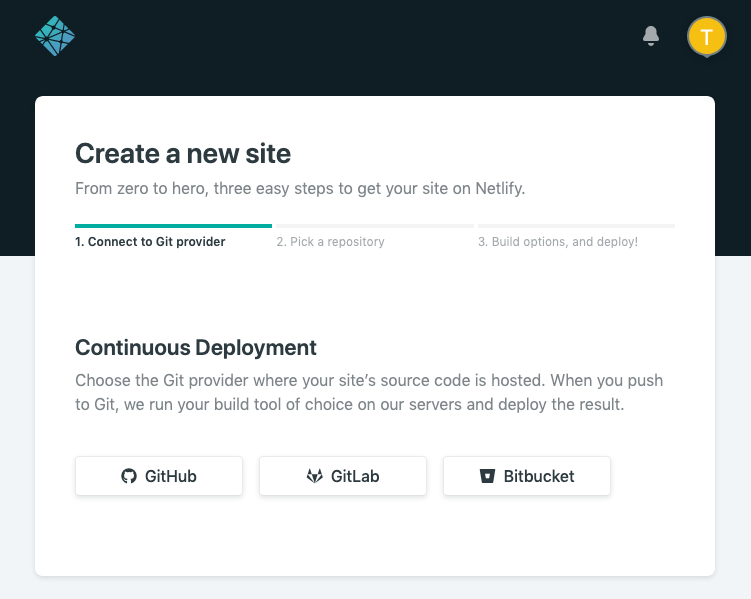
- Create a New site from Git on Netlify. You will select your git provider, authorize the Netlify access to your account, pick the repository and click the
Deploy sitebutton. Don't worry, we'll configure the build settings latter.
- Now it's time to rename the website to something that makes sense to you. Access the website's
Settings > Generaland click onChange site namebutton to pick a new name.
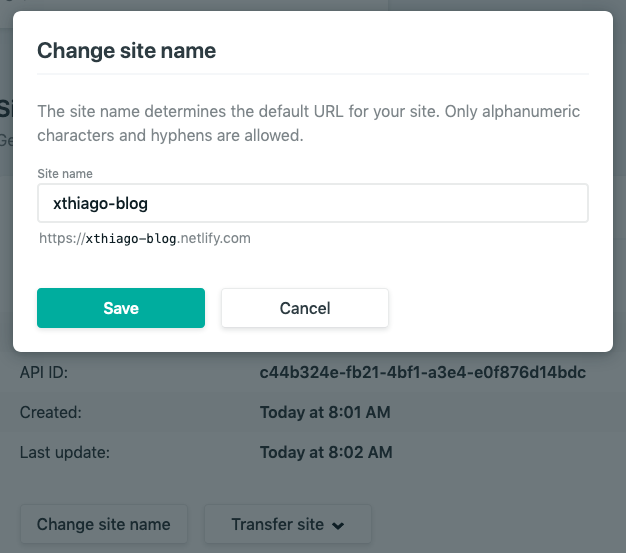
For this article I chose http://xthiago-blog.netlify.com.
- Go to
[Your site] > Settings > Build & deploy > Continuous Deploymentsection and click onEdit settingsand fill the fields as following:
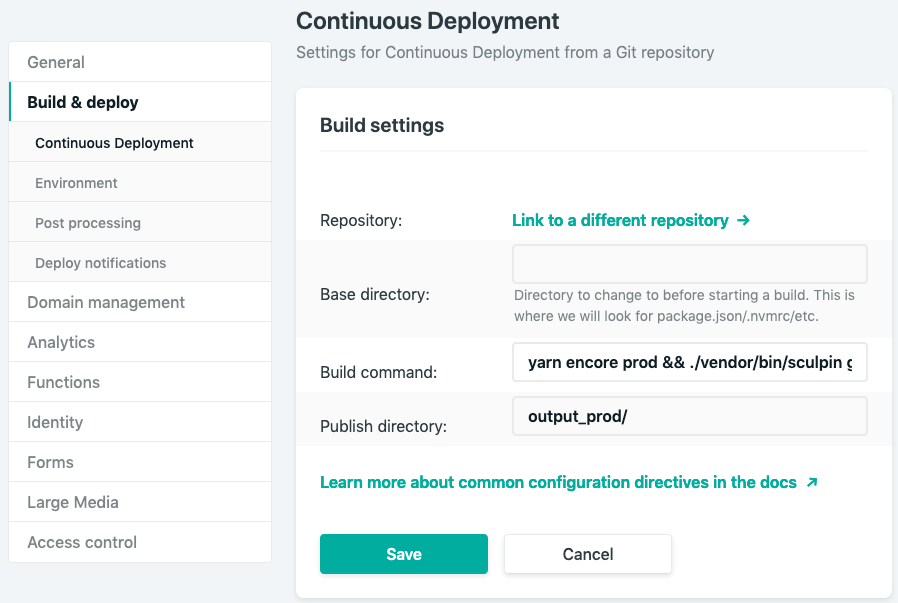
- Base directory: let it empty
- Build command:
yarn encore prod && ./vendor/bin/sculpin generate --env=prod --url=http://your-site.netlify.com. Change theurlargument to your website URL. - Publish directory:
output_prod/
- Go to
[Your site] > Settings > Build & deploy > Environmentsection and click onEdit variablesbutton and add:
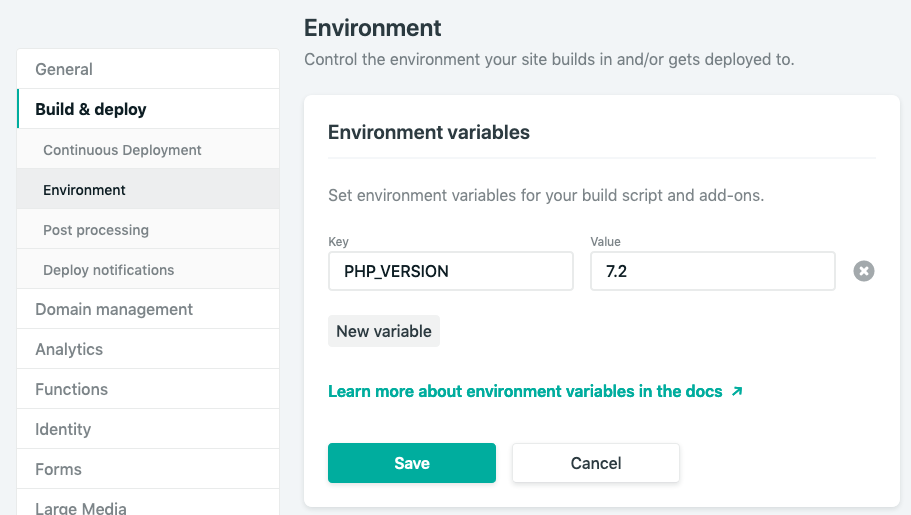
- Key:
PHP_VERSION, Value:7.2
By default Netlify comes with PHP 5.6, so we need to specify a PHP 7 version to successfully build the website. Unfortunately, at the time I'm writing this article PHP 7.3 is not available yet.
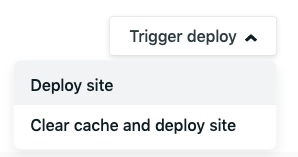
- To manually trigger a deploy in order to check the settings go to
[Your site] > Deploysand click onTrigger deploy > Deploy sitemenu.
After the build execution, if everything is right you will be able to see your website at your-site.netlify.com.
Adding a custom domain with free SSL (HTTPS) to your website
At the end of this section, you will be able to access your site by the address https://your-site.com. It includes custom domain, free SSL and IPv6 support.
There are two ways to add your custom domain:
- adding some entries to your current DNS server;
- transferring your domain to be managed at Netlify DNS server.
I chose the second approach because it provides more facility on website management.
- Go to
[Your site] > Settings > Domains, click onAdd custom domainand follow the steps.
- At
[Your site] > Settings > Domainsclick on... > Set up Netlify DNSof your custom domain and follow the steps.
At the second step, you will have the ability to add custom DNS records - like CNAMES, TXT or MX. Add there if you have it. You can also edit it later.
- At your domain registrar, change the DNS nameservers of domain to:
dns1.p07.nsone.netdns2.p07.nsone.netdns3.p07.nsone.netdns4.p07.nsone.net
After that you need to wait for the DNS propagation. To me it took only a few minutes.
- Access http://your-site.com and make sure everything is working.
- Set your custom domain as a primary domain by clicking on
... > Set as primary domain.
Tip: Here's they give a good reason to use www. in your domain name.
- Nowadays is unacceptable a website without support to IPv6, so let's enable it. At
[Your site] > Settings > Domainsand click on your domain... > Go to DNS panel. At DNS settings page, click onEnable IPv6. That's it. - In order to add free SSL provided by Let's Encrypt to your site go to
[Your site > Settings > Domain management > HTTPS]and enable it. - (Optional) Redirect all traffic from
http://your-site.netlify.comtohttps://your-site.com. In order to do that, create anetlify.tomlfile on project root with the following content:
[[redirects]]
  from = "https://xthiago.netlify.com/*"
  to = "https://www.xthiago.com/:splat"
  status = 301
  force = true
Commit and push to the repository. Wait the deploy completes and access https://your-site.netlify.com in your browser. You must be redirected to https://your-site.com.
Conclusion
The experience of setting up this blog at production environment with Netlify has been awesome. To update my blog I only need a browser because I can edit the files directly on GitHub.com and Netlify takes care of everything. And the best part of all: it's free.
Regarding Sculpin, I'm enjoying the experience, but it could be much better if it came with a more complete template system - with open graph, structured data, highlighted post images, etc.
What do you think? What stack are you using to maintain your websites? Tell me more in the comments below ;-)
Categories: tutorial
Image by Thiago Rodrigues Software architect, speaker and PHP evangelist at PHPSP community.